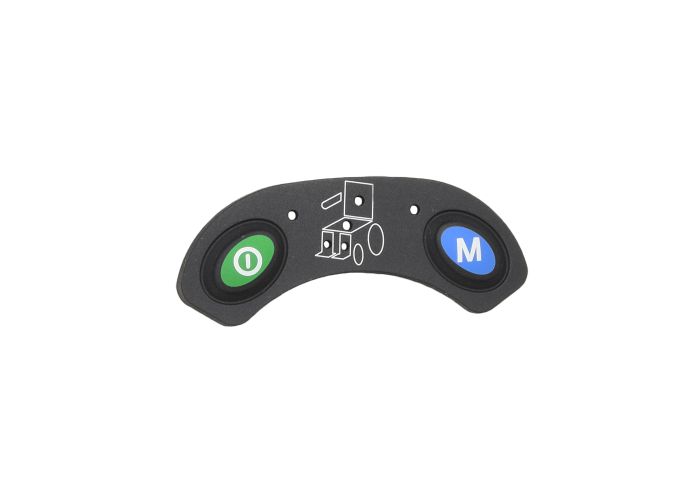
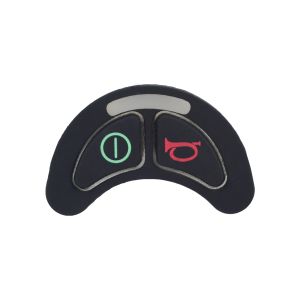
If it has become time for a new replacement keypad for the Q-Logic Stand Alone joystick controller, his 2-key (or 2-button) keypad replaces the old worn pad (or template) on the Stand Alone joystick and is a quick and easy way to rejuvenate the joystick's look and ease of use.
The Q-Logic Stand Alone joystick controller provides attendant control of a rehab power chair. It is an option used on many Quantum Rehab models and may be found on the Jazzy 614 and J6 power chairs as well.
Installation Instructions:
1. Ensure the wheelchair power is turned off.
2. Pull the gray collar back and disconnect the joystick cable from the joystick.
3. Peel up and remove the existing, damaged keypad from the joystick face plate.
4. Inspect the joystick contacts, face plate, and joystick housing for corrosion and/or damage.
5. Using an alcohol prep pad, remove any adhesive from the joystick face plate.
6. Ensure no adhesive remains around the rim of the joystick face plate.
7. Gently remove any adhesive that may have collected in the lighting or contact cutouts of the joystick face plate.
8. After cleaning, set the joystick aside for ten minutes to allow all alcohol to evaporate from the joystick face plate.
9. Inspect once more for adhesive lumps or residue. If necessary, repeat steps 5-8 to clean the joystick face again if adhesive is present.
10. Remove the backing from the new keypad.
11. Align the bottom edge of the keypad with the bottom edge of the joystick face plate. Ensure the keypad is properly aligned with the joystick face plate before installing. The overlay is not repositionable.
12. Working from the bottom up, gently press the keypad completely into the joystick face plate.
13. Firmly press the keypad into the joystick face plate ensuring proper seal between the adhesive and joystick face plate.
14. Ensure the keypad is completely seated into the joystick face plate and no air pockets or ripples are present around the edge of the keypad.
15. Connect the joystick cable to the joystick.
16. Turn on wheelchair power and test the joystick functions.
17. If the joystick does not function properly, you may have a faulty joystick.
⚠ WARNING California Residents:
Proposition 65 Warning